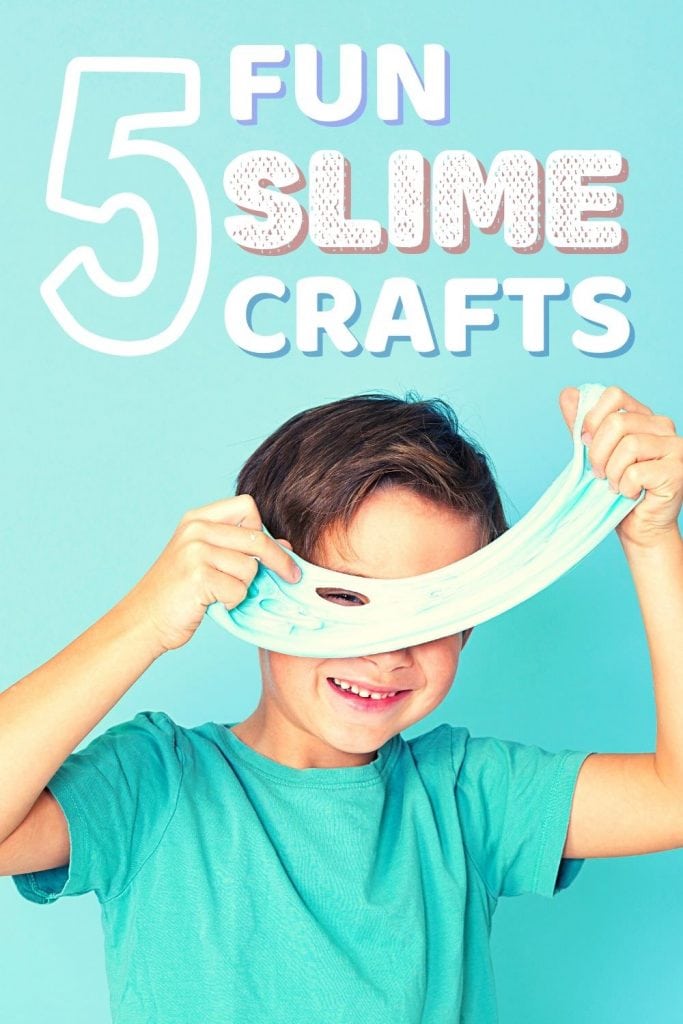
It’s camp and retreat season and if you’re looking for activity ideas, then you should try these fun slime crafts for kid’s camp!
Every kid loves to play with stretchy, sticky, and gooey slime. And, let’s be honest, slime is a blast for adults, youth, and your little ones too.

Slime itself is already enjoyable to play with, but using it for fun slime crafts takes it to a whole new level! At your next kid’s camp, why not try incorporating slimes in your activities and crafts to excite the kids!
But, buying slimes for everyone who attends can get a little expensive if you go with the name brands. To help you with that, let’s start with the very first slime activity which is a DIY slime tutorial.
How to make slime without Borax!
This video tutorial offers 5 easy and amazing slime recipes that won’t affect anyone because the ingredients used were all kid-friendly. These basic materials used can easily be found on Amazon: glue, food coloring, detergent, saline solution, and baking powder. You can also try adding various glitter colors to spice it up!
What’s nice about the video above is that it starts with a basic slime recipe followed by more colorful and unique ones which will definitely wow the kids even the adults. My personal favorites including glowing slime and galaxy slime.
The awesome slime recipes used in this video can be prepared ahead of time if needed. Now that we have a standard slime recipe, we can now move on to the crafting part!
Slime Sun Catchers
A fun slime craft is the best way to start the camp and this project is perfect for that! This idea was accidentally discovered when someone dropped some slime and unknowingly left it to dry which lead to an almost translucent hard slime which gave them the idea of “why not make sun catchers?”
This project is best to do on the first day of camp since it will need 2 to 3 days to dry out the colorful slimes. All you need to do is use your premade slimes, place assorted colors in a container, and leave to dry.
Once hardened, the kids can display their sun catchers in their homes on windows to catch the beautiful rays of sunshine.
Ocean Slime Jars
If you’re hosting a camp by the beach, then this cool slime tutorial is the perfect activity! It also makes for a great giveaway as well. These beachy slimes make for a good decoration or display item and even serve as a beautiful reminder of how the kids enjoyed their time at the ocean!
Ocean slime ingredients include a small clear jar, blue glittered slime, small sea animal toys, plastic plants, corals, sand, and seashells.
Have the kids decorate the jars with the slime and the toys. Let them use their imagination in placing the toys with the glittered slime that will act as the ocean. Once done, lock it up and use it as the camp’s special take-home item.
Rainbow Slime
Brighten up any kid’s mood with this colorful slime craft! This craft also incorporates easily with our Rainbow Promises children’s camp theme.
To prep, all you need are slimes with the various colors of the rainbow, a thick black board, and imagination. Let the youth create their own rainbow using the different colored slimes by forming logs of slime and placing them on the board.
Use this slime craft as a reminder for ROY-G-BIV in showing the arrangement of colors. They can finish this craft with white slimes at the ends of the rainbow to act as clouds. You may even get really creative and add a slimy pot of gold at the end.
Ice Cream Slime
Before starting this activity make sure to remind the kids that the slimes are not edible unless you use an edible fluffy slime recipe for this project.
Have the kids make their own ice cream creations by using different colored slimes. Give each of your little ones a cone or an ice cream bowl. Let them play with different toppings such as colored stones, plastic fruit shaped toys, and decors. Allow them to use their imagination and come up with their own name for the different ice cream flavors that they make.
For the edible slime, you can check out the video below! Use marshmallows, candy rocks, raisins, and nuts to decorate the ice cream slime and let the kids enjoy them as a treat.
Slime Transfer Painting
Unleash the Van Gogh in each kid by letting them create their own painting while incorporating this fun slime craft. Prepare a canvas or plain white T-shirt for each kid. Next, place a cup full of slime on a plastic plate and let it spread out.
Instruct each little artist to create their own unique painting on the slime. Once complete, stretch it out to roughly the same size as their canvas and drop it on the canvas paint side down. Wait 30-60 seconds then carefully peel off the slime to see your unique painting! The slimes can be reused or played again.

