DIY Teacup Diorama for Ladies Easter Retreat
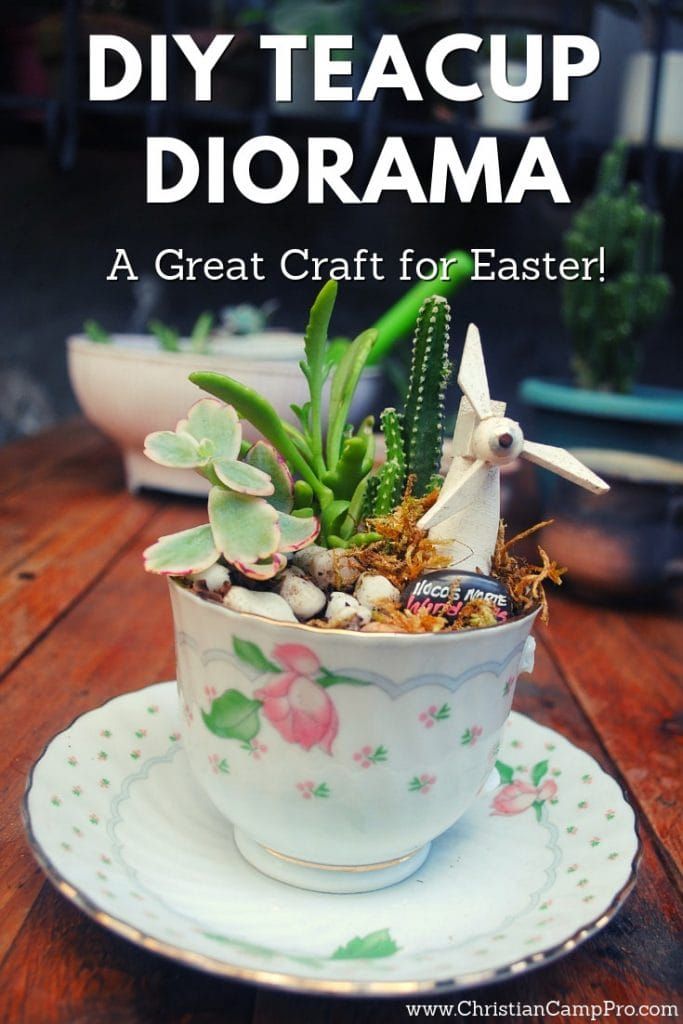
Easter is just around the corner, and there will definitely be ladies retreats happening during this time to discuss God’s sacrifices and His coming back to life. A fun DIY Easter craft that the ladies can do during their retreat is a teacup diorama using succulents, cactus and small decorative pieces that the ladies can bring during the retreat. The nice thing about this DIY activity is instead of using new teacups or buying a new one, you can ask the ladies to bring an old one or a teacup with broken handle or chip in it.
The idea is to create something beautiful out of a broken vessel which is also a perfect activity that you can include during the ladies retreat. We all know that Easter is all about Christ’s resurrection and giving a new life to a broken or old teacup is a good way to represent the lessons that Jesus shows us throughout the New Testament.
Another good thing about this DIY Teacup Diorama is you can just ask the ladies to bring their own succulents and cactus that they want to be replanted. Each person likely has these materials on their own, which makes it easier on the craft organizers as they will only need to bring their lesson and possibly a working table. If they don’t have any, you can quickly find a plethora of cheap diorama supplies on Amazon.
Without further ado, try this tutorial on how to create a DIY Teacup Diorama.
You will need the following materials to start making the DIY Teacup Diorama:
- Chipped or old teacup
- 2 to 3 variety of cactus or succulent of your choice
- Small decorative pieces like tiny figurines, keychains or marbles
- Pebbles and rocks
- Extra sand and soil
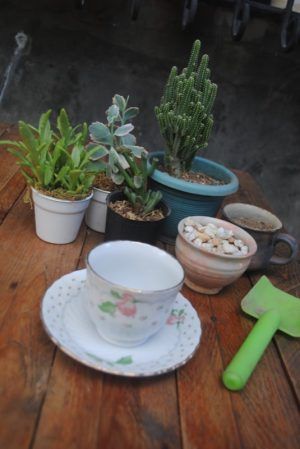
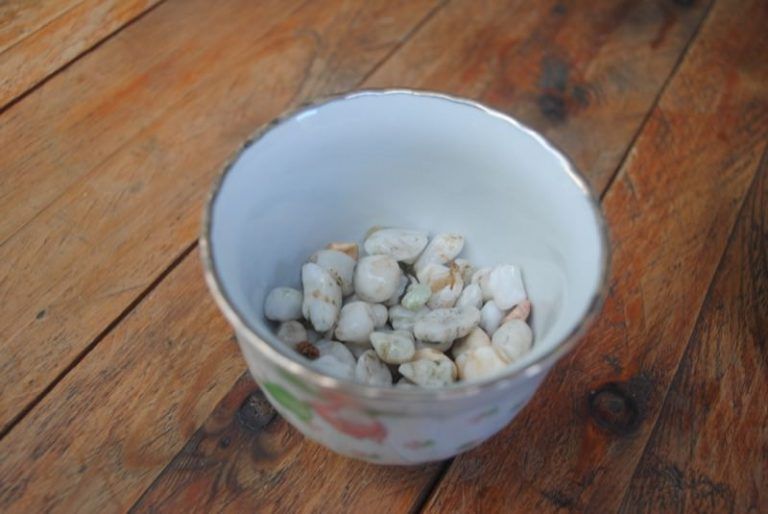
Step 1: Fill the teacup with pebbles or rocks until it is 1/4 full. This will act as the water drain as we won’t be drilling a hole in the cup since it may cause it to break more. Using rocks at the bottom will prevent the soil from drenching in water that may rot the succulent.
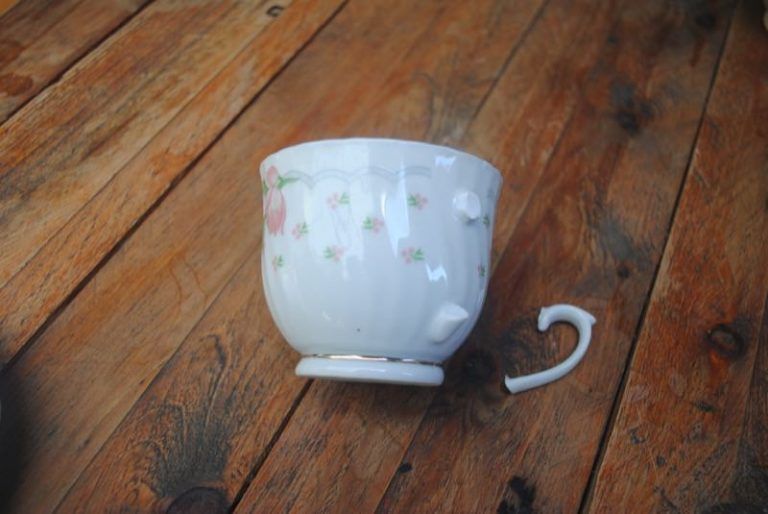
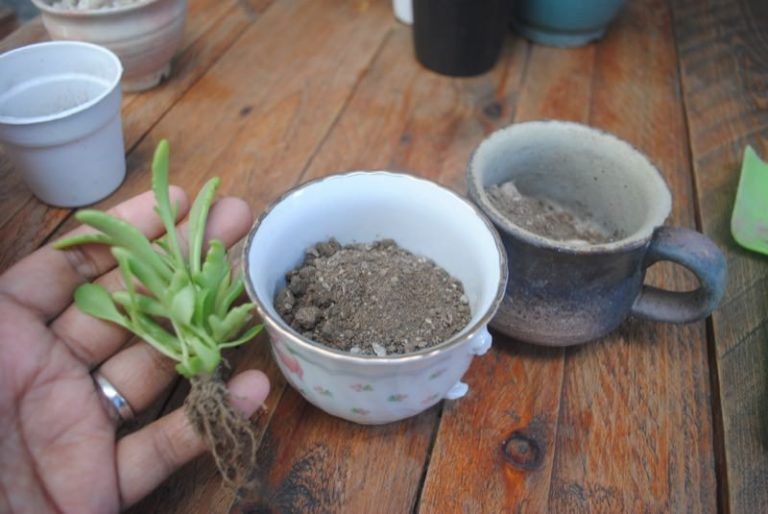
Step 2: Get your desired succulent or cactus and carefully remove the excess soil by slowly tapping it on a bowl. Do this delicately to avoid removing or bruising the root of the succulent. You can also do some trimming depending on how you want to design your DIY Teacup Diorama. In this case, I used 3 different succulents with different colors and textures.
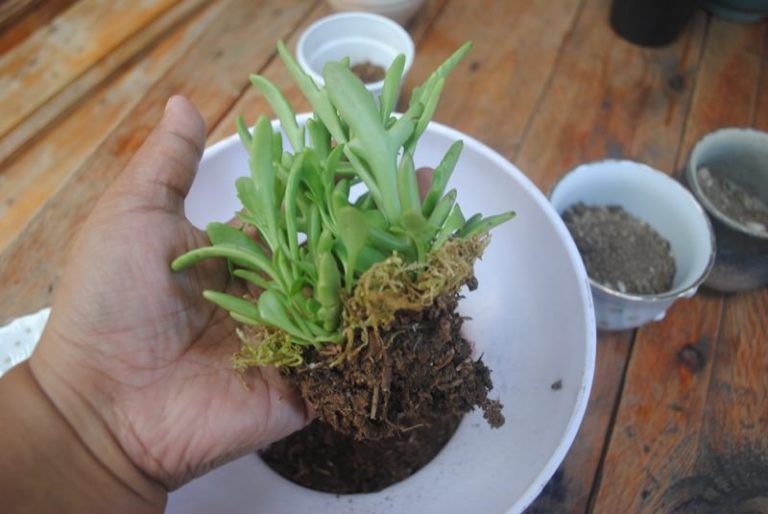
Step 3: Place your plant to the teacup while filling it up with the soil that you got from the succulent. Make sure to fill it in to secure the succulents to the teacup. Arrange the varieties according to your liking.
Step 4: Decorate with remaining pebbles and moss, this will also help tuck the succulents into the teacup. For finishing, I added a mini keychain that I got as a souvenir. And you’re done! Take note that you need not to water the succulent as they need time to adjust to their new environment. Give it 2 to 3 days before watering directly to the soil. Do not flood the teacup or it will rot the succulent.
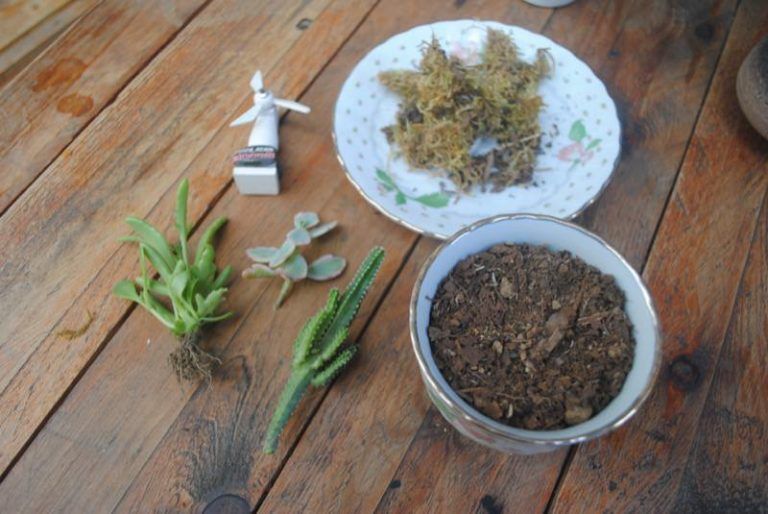
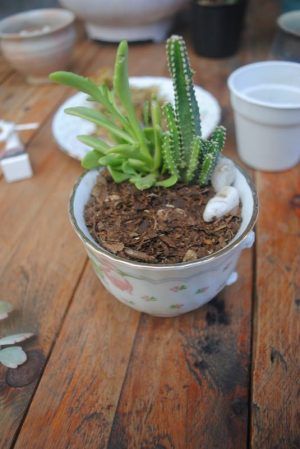
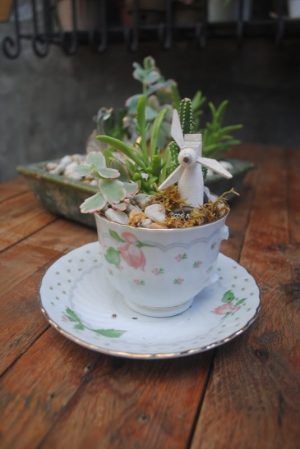
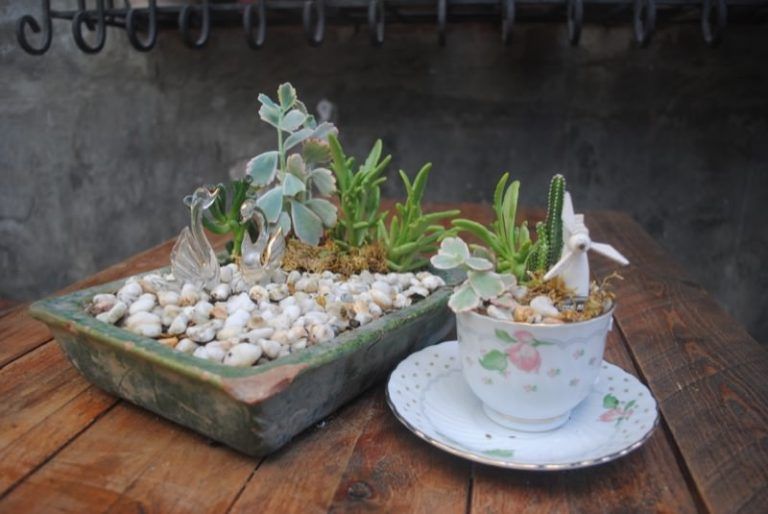
Step 5: You can also use any old vessels like a broken bowl, platter or container. All you need is your imagination and you’ll be able to transform the old and broken material into something that is beautiful and new.
Summary
While crafting the DIY Teacup Diorama, the assigned speaker or organizers should relate the crafting project to verses that discuss how God promises us a new life. One Bible verse that could be discussed is from Revelation 21:4-5 which goes as
“He’ll wipe every tear from their eyes. There will be no more death’ or mourning or crying or pain, for the old order of things has passed away. He who was seated on the throne said, “I am making everything new!” Then he said, “Write this down, for these words are trustworthy and true.”
I hope this easy DIY Teacup Diorama will be an instrument to all the ladies attending an Easter-themed retreat this year. The great thing is that this craft isn’t just for Easter, you could relate it to your message of restoration any time of the year.
This activity is also a therapeutic session that can easily replenish the energy of anyone who’s feeling down and troubled.
Free Retreat Planning Checklist!
Over 20,000 Downloads! Join now to receive my FREE Retreat Planning Checklist that will save you time when planning your next event! You will also receive the latest games, themes, and ideas to help take your next camp or retreat to the next level. Don’t miss out!

