It was a pleasant afternoon when I decided to clean my mom’s mini collection of Holy Family Nativity figurines. She has a few sets sitting around the house that we usually display during Christmas time.
Looking at the different sizes and styles of the various Holy Family Nativity set decorations, I remembered why mom started collecting them. It’s because having a visual display around for her serves as a reminder of how she should strive for a God-centered family.
Every time we see the Holy Family Nativity sets we’re reminded of how God gave us His only son to save us from all our sins.
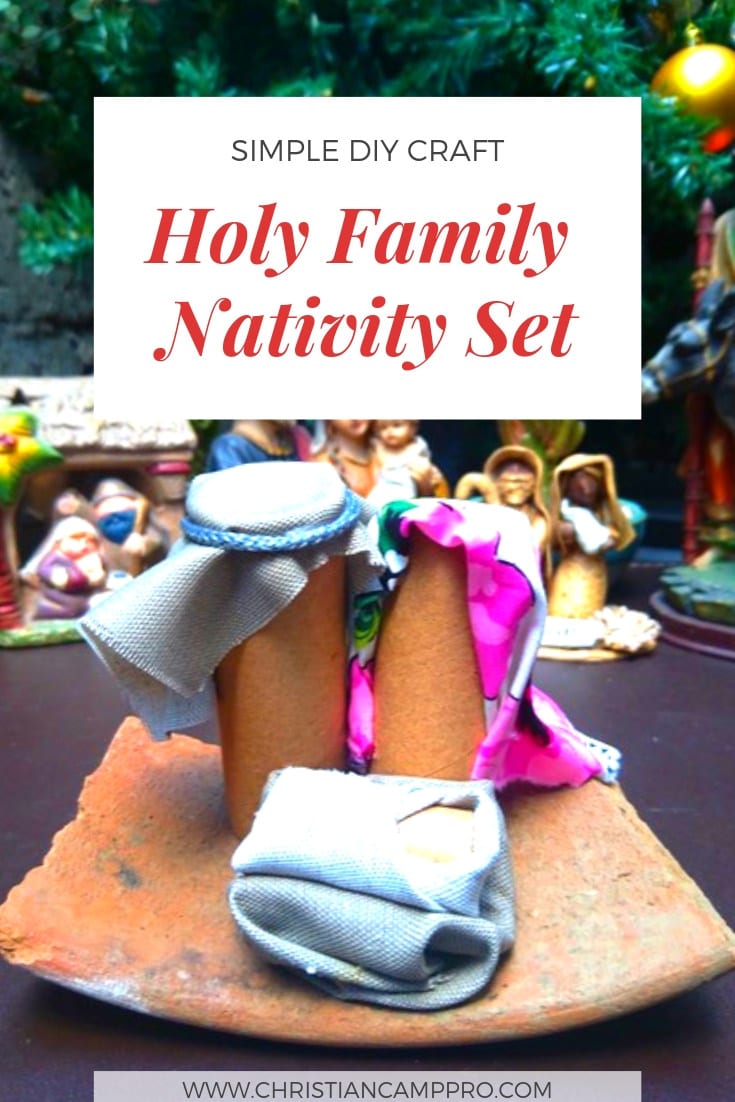
After cleaning the figurines, I’ve thought why not create a simple DIY Holy Family Nativity set decoration with my children to add to my mom’s collection? After we looked through our crafting supplies and scoured the house to find any other interesting materials, we created this simple set.
It was great to share the store of how Jesus came to earth and was born in a stable with my children during the process. Now we want to share it with you! This simple DIY Holy Family Nativity set is perfect to create with your children and add to the other Christmas decorations this year.
Materials needed for the Holy Family Nativity set
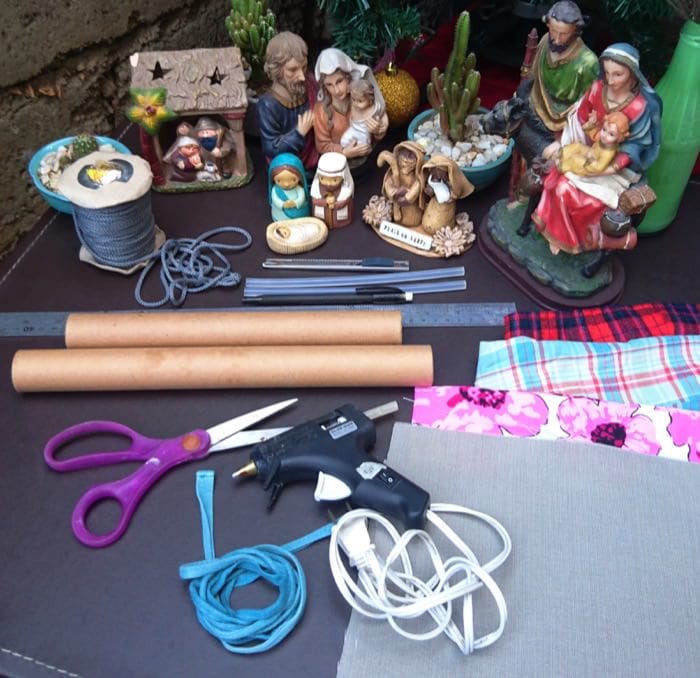
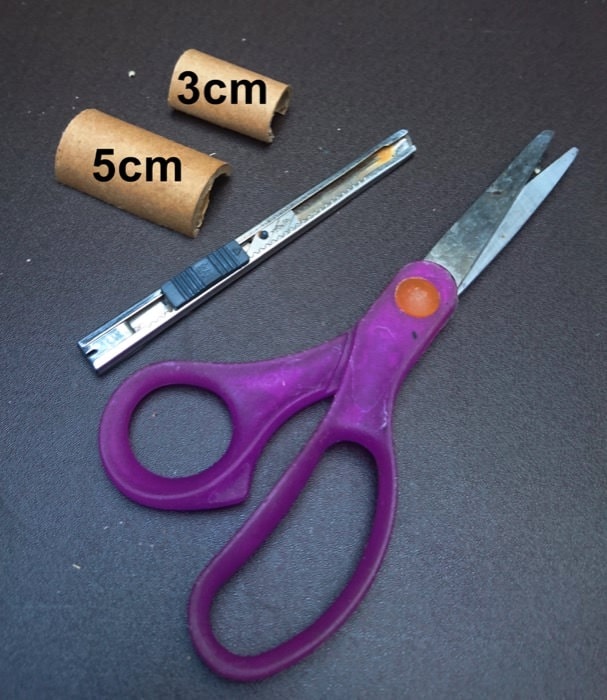
Cardboard tube (toilet paper roll), Hot glue with glue sticks, Scrap fabric, Ruler, Pencil, Cutter, Scissors, Yarn or colored strings
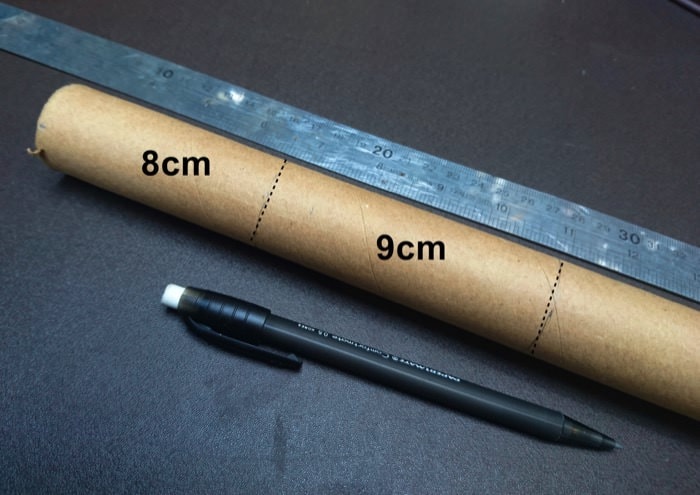
Step 1: Grab the cardboard tube or toilet paper roll and measure 8cm and 9cm spaces. Run your pencil around to mark the tube and cut to form two tubes.
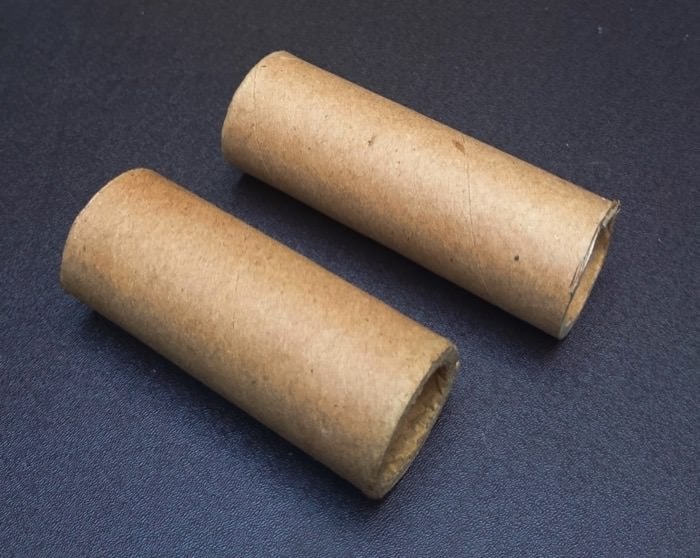
Step2: From the remaining cardboard tube, measure a 5cm piece and cut. Using the cutter, cut this piece in half to get to halves. Set the one aside while cutting the other one down to 3 cm.
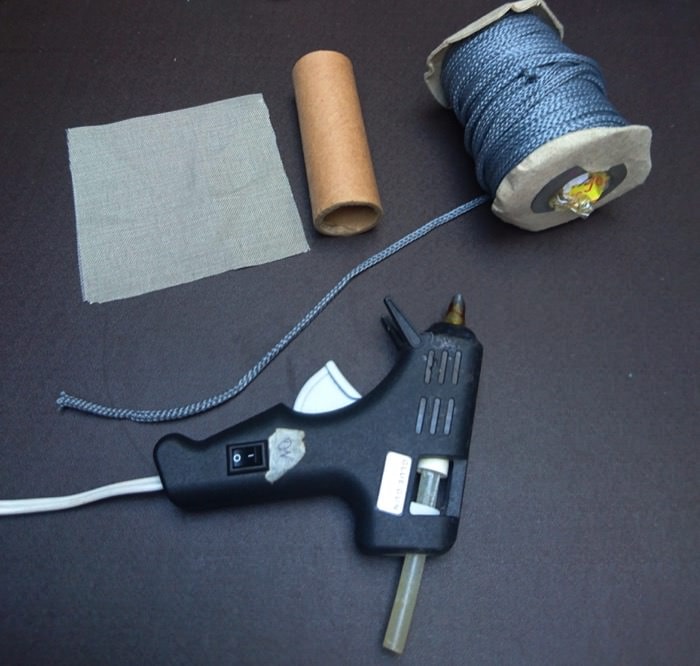
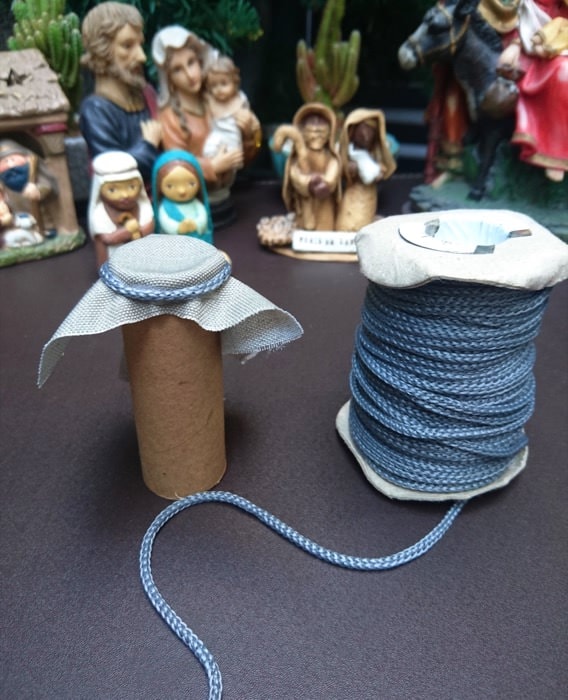
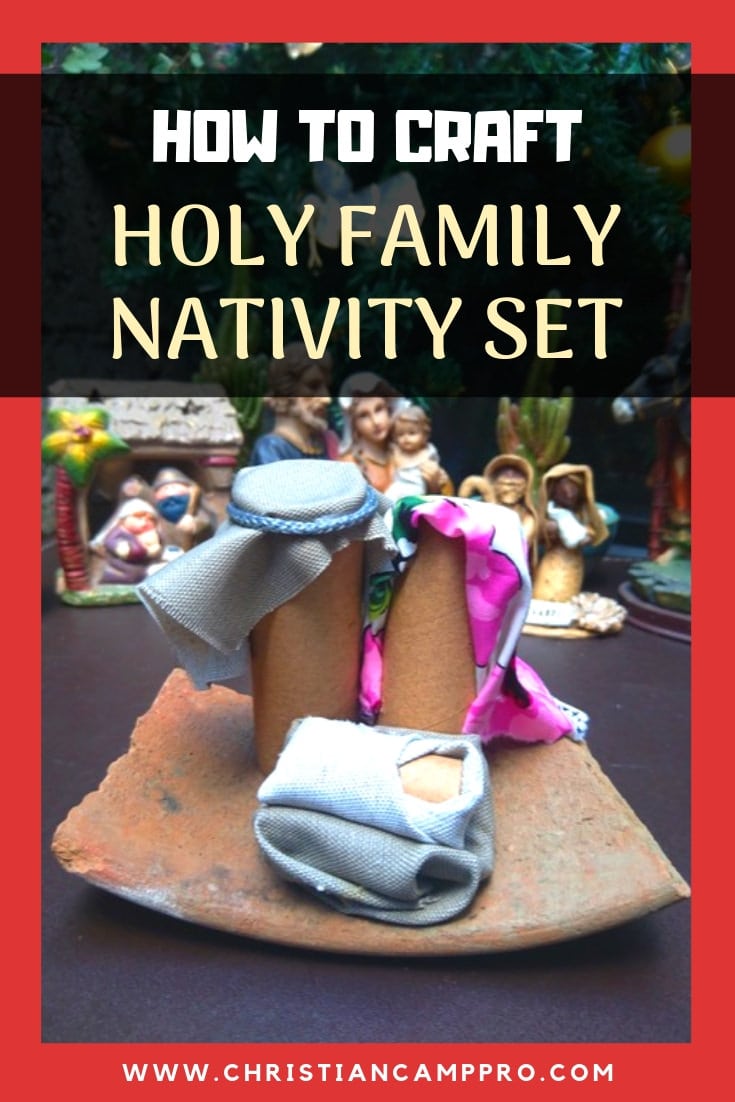
Step 3. For Joseph, get the 9cm paper tube. Then measure and cut an 8cm x8cm fabric. Choose a darker color to represent Joseph, for this project I used a gray fabric. Using the hot glue, attach the fabric onto Joseph’s head to look like his headgear. Add a colored yarn or string for added detail.
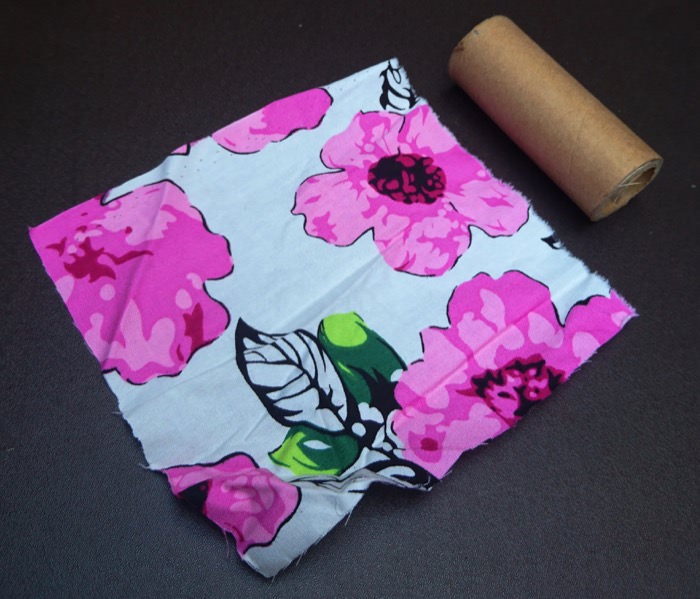
Step 4: For Mary, you will use the 8cm paper tube. Choose a different fabric, in this case, I chose a colorful one with print to easily distinguish Mary from Joseph. The size of the fabric will be 8cm x 10cm for longer head covering. Glue it securely onto the paper tube making sure that the fabric will slightly cover Mary’s face.
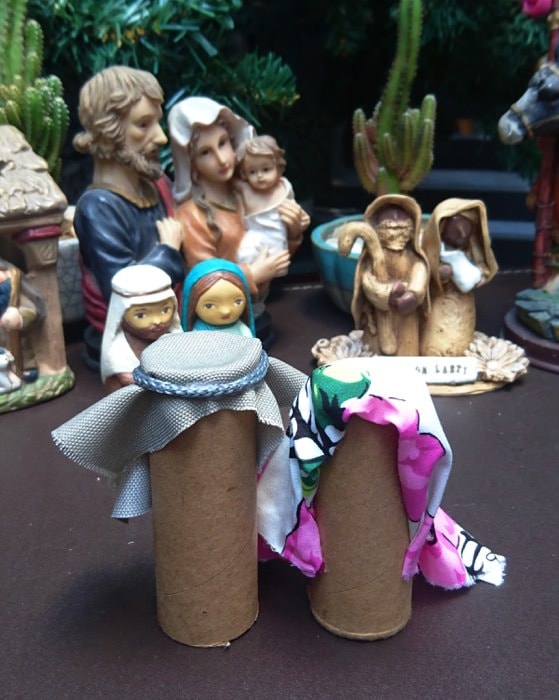
Step 5: Repeat the process for baby Jesus in the manger. Use a darker color of fabric for the manger, better if you’ll find a brown color of fabric. For Jesus, find a lighter color and wrap the 3cm half tube like a baby, only showing the face. For the 5cm half cover it completely with fabric to represent the manger. Once done, put the Jesus tube onto the manger. You’ll now have the Holy Family made from paper tubing.
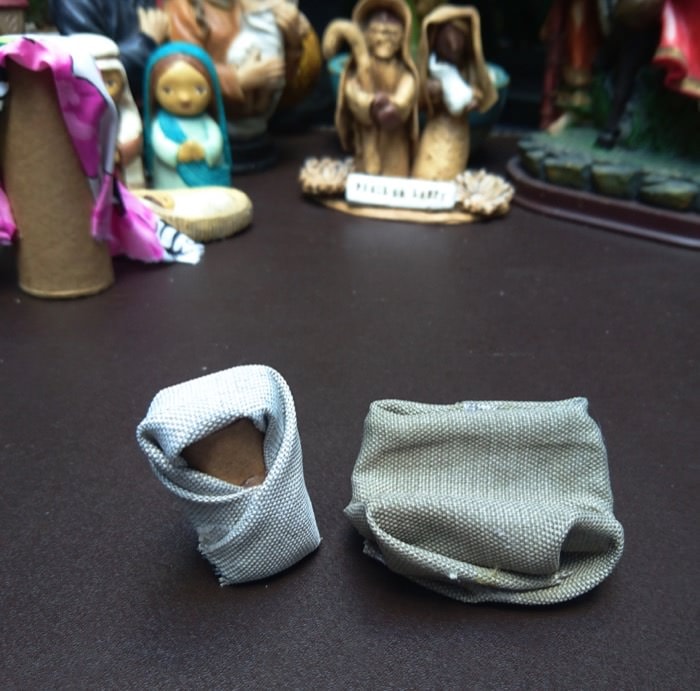
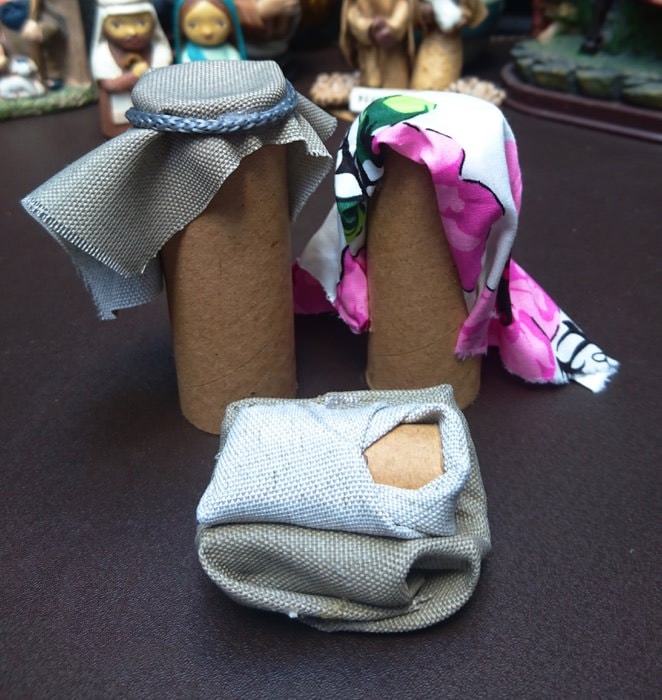
Step 6: You can now display your very own DIY Holy Family Nativity set decoration, or find a rock or piece of wood where you can attach the Holy Family. I’ve used a broken pot in resemblance to the environment where Jesus was born.
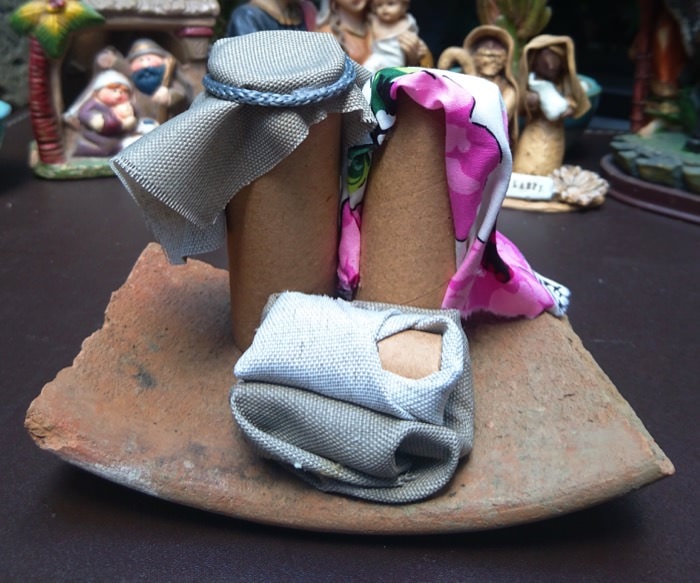
Variations: You can also use different size of bottles, used medicine jars, juice packs and even rocks for this DIY Holy Family decoration!
We’re really blessed to have Jesus as a gift from God. I am hoping that through this easy DIY crafting project you will be reminded of how we should celebrate Christmas.
Do you have a lot of materials at home to do a batch of these DIY Holy Family Nativity decorations? Why not craft a few to use as gifts to your loved ones or churchmates? Include a short note of how thankful you are for having them in your life.
This nativity craft project will definitely bring a smile to anyone who creates or receives it, just like how my mom always smiles when she’s looking at her mini collection of the Holy Family.
If you enjoyed it, you will also enjoy these 25 other Christian Crafts for Kids!
During Christmas time, you may also pair this craft with The Nativity Story Gift Exchange Game!

